/
Create a support page
Create a support page
- Mattias Löfstrand
Owned by Mattias Löfstrand
This guide shows how to create a custom support page.
Step-by-step guide
Creating a support page will require an html document to be added in Manager, and some configuration in Web Viewer.
- Create an html document for the language of choice. If several languages are used, create several html documents.
- When referring to images or css files in the html document, ensure to refer to these documents using this syntax:
<link rel='stylesheet' type='text/css' href='Content?fileName=support.css' media='screen'>
<img class="imgsize50" style="vertical-align:midlle" width="400px" src="Content?fileName='support.jpg'"> - Start Manager and open the document repository.
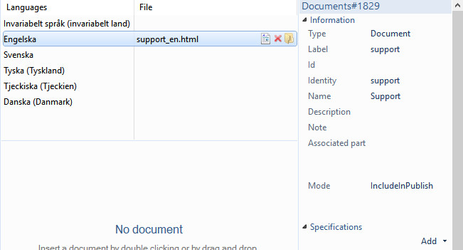
- Create a new document and add the html file to the document.
- Ensure to give the document the following properties
- A name which may be useful for the end users when searching.
- If additional search terms should result in support page showing, add specifications that are searchable.
- An Identity that can be referred to in the Web Viewers profile.config. E.g. use "support".
- Ensure to set the mode "IncludeInPublish"
- Open profile.config and add the below settings
<CustomSupportPageEnabled>true</CustomSupportPageEnabled>
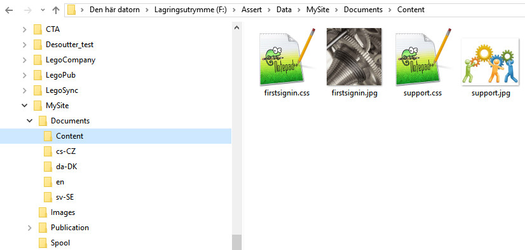
<CustomSupportDocument identity="support"/> - Create a folder "Content" under your Documents folder in the site's file area on the editor server and add the images and css files manually to this content folder.
Sample files

See sample support document attached to this article.
Related articles
, multiple selections available,
Related content
Create a quick start guide
Create a quick start guide
More like this
Technical documentation - Presentation settings in version 5
Technical documentation - Presentation settings in version 5
Read with this
Create a welcome page
Create a welcome page
More like this
Create a popup document
Create a popup document
More like this
How to add messages to end users
How to add messages to end users
More like this
Custom texts and available languages
Custom texts and available languages
More like this